For our final project, my partner Keer and I tackled a problem we were informed about during our trip to the Child Study Center. It had been observed that many of the children were afraid of flushing the toilet due to the sound, which was caused by the enclosed metal stalls echoing the sound of the toilet flushing. I personally found tackling this issue would be very beneficial in the development of healthy habits as well as benefiting the hygiene of the center.
We decided to resolve this issue by adding a mechanical system to the toilet that would delay the flush and give the child enough time to leave the stall before the mechanism would flush the toilet.

My initial sketch that was presented as a pitch
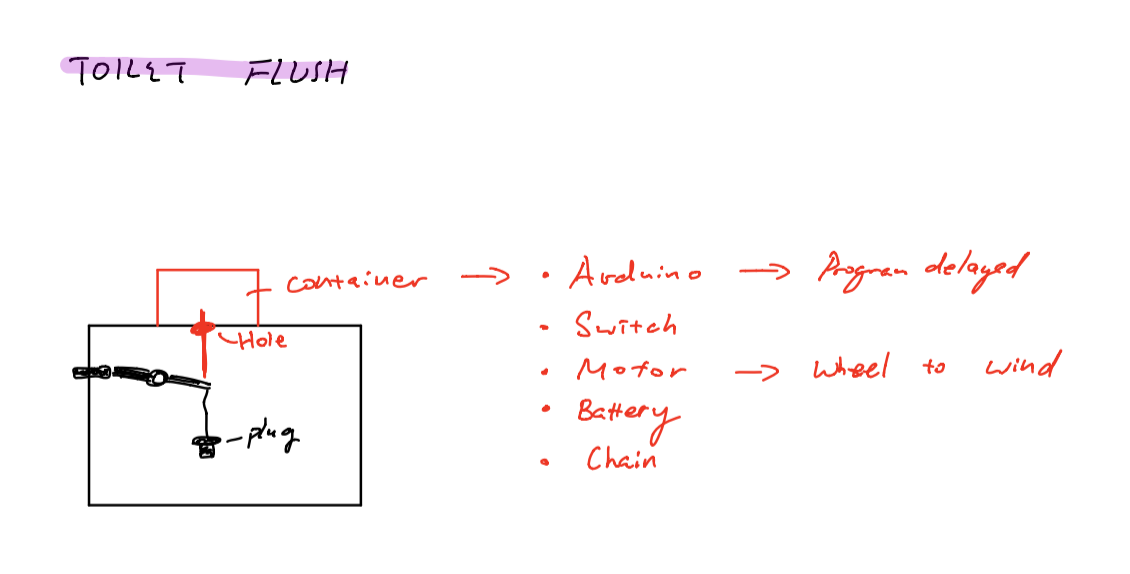
Sketch Idea of our project before first iteration
We did this by interacting with the inner mechanisms of the toilet tank and attached a chord to the flush lever, which would be cranked upwards around a spool we attached to a servo motor. We created a program and uploaded it to an Arduino which would recognize when the button would be pressed, flashing the LED in the button multiple times with increasing speed to indicate to the child that the toilet will be flushed soon, and then turn the servo-motor and thus pulling up the flush lever and flushing the toilet.
Instruction for Use (as appear on our poster):
- Step 1: Use toilet
- Step 2: Press big red button
- Step 3: Step away from the toilet to avoid its deafening roar
- Step 3: Watch flashing lights to indicate how long is left before toilet will be flushed … the lights blink faster and faster
- Step 4: Watch in awe as the toilet is flushed unmanned
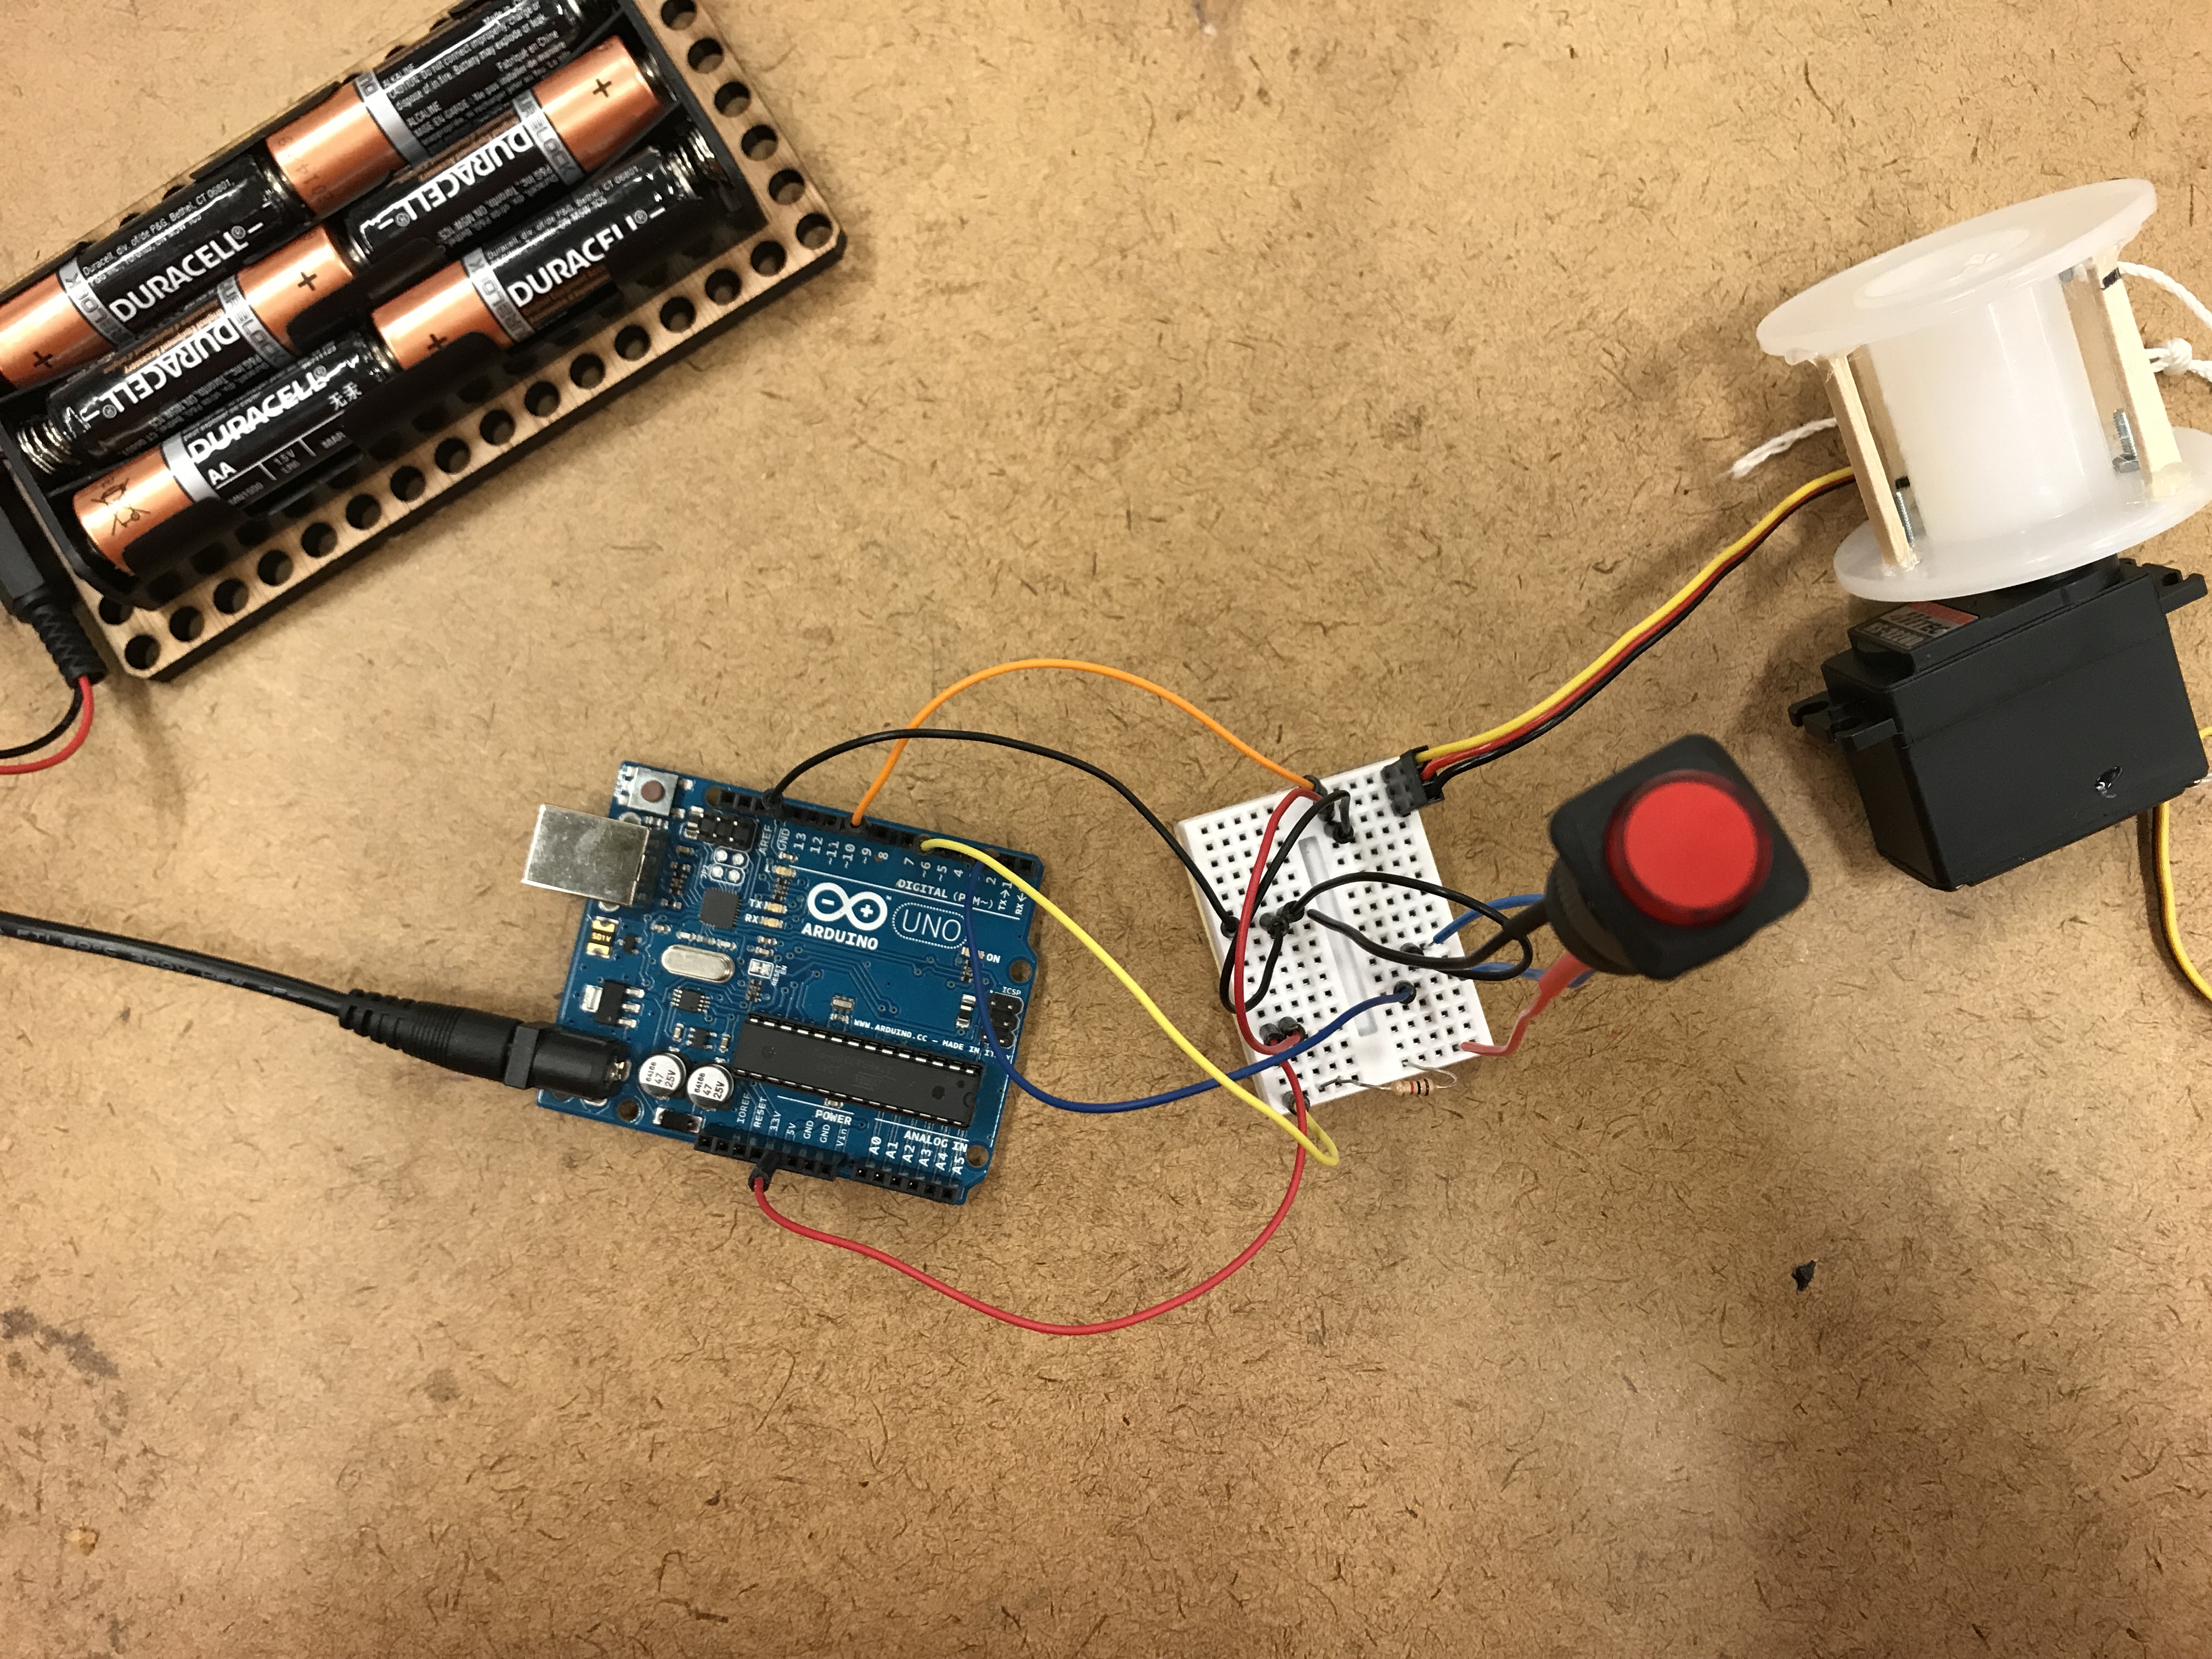
First iteration of project; Contains: breadboard, Arduino, battery pack, and servo-motor with popsicle stick spool
Our first iteration of the project was done on a breadboard and using a regular sized Arduino. As well, in our first iteration of our spool, we used popsicle sticks to increase the diameter of the spool so as to crank up more amounts of the chord per rotation of the motor. For our final iteration that we presented, we soldered all of our wires to the circuit board and used a mini Arduino in order to maximize space in the water proof box we used to contain the entire system. For the final iteration of the spool, we decided to 3D print it in order to make sure we got the perfect dimensions needed for the project. We then fit all the parts into a waterproof box we ordered and drill pressed two holes into it, one for the button to stick out from, and one for the chord to extend our into.
For demonstration purposes, we placed our mechanism on a piece of acrylic on top of a toilet tank.

Final project contained in waterproof box
Some difficulties we faced while working on this project was the 3D printer. The first two times we tried to 3D print our stool, the 3D printer kinda messed up and gave us an irl glitch. After Larry fixed the 3D printer (yay 🙂 ) we finally managed to print out our final part.This was very stressful as we didn’t have our last (and very important part) till the day before our presentation. For improving on our project, I would have liked to consult more with the CSC and possible tested out our project with the children to see how they reacted to it, and whether or not it would have been effective. I am mostly concerned with the duration of the flashes and whether it will be enough time for the children to leave the toilet before it flushes. I Overall, I am very happy about how our project turned out and how we managed to get everything we needed to done within the allotted time. I am excited to see if our project will become integrated into the CSC.
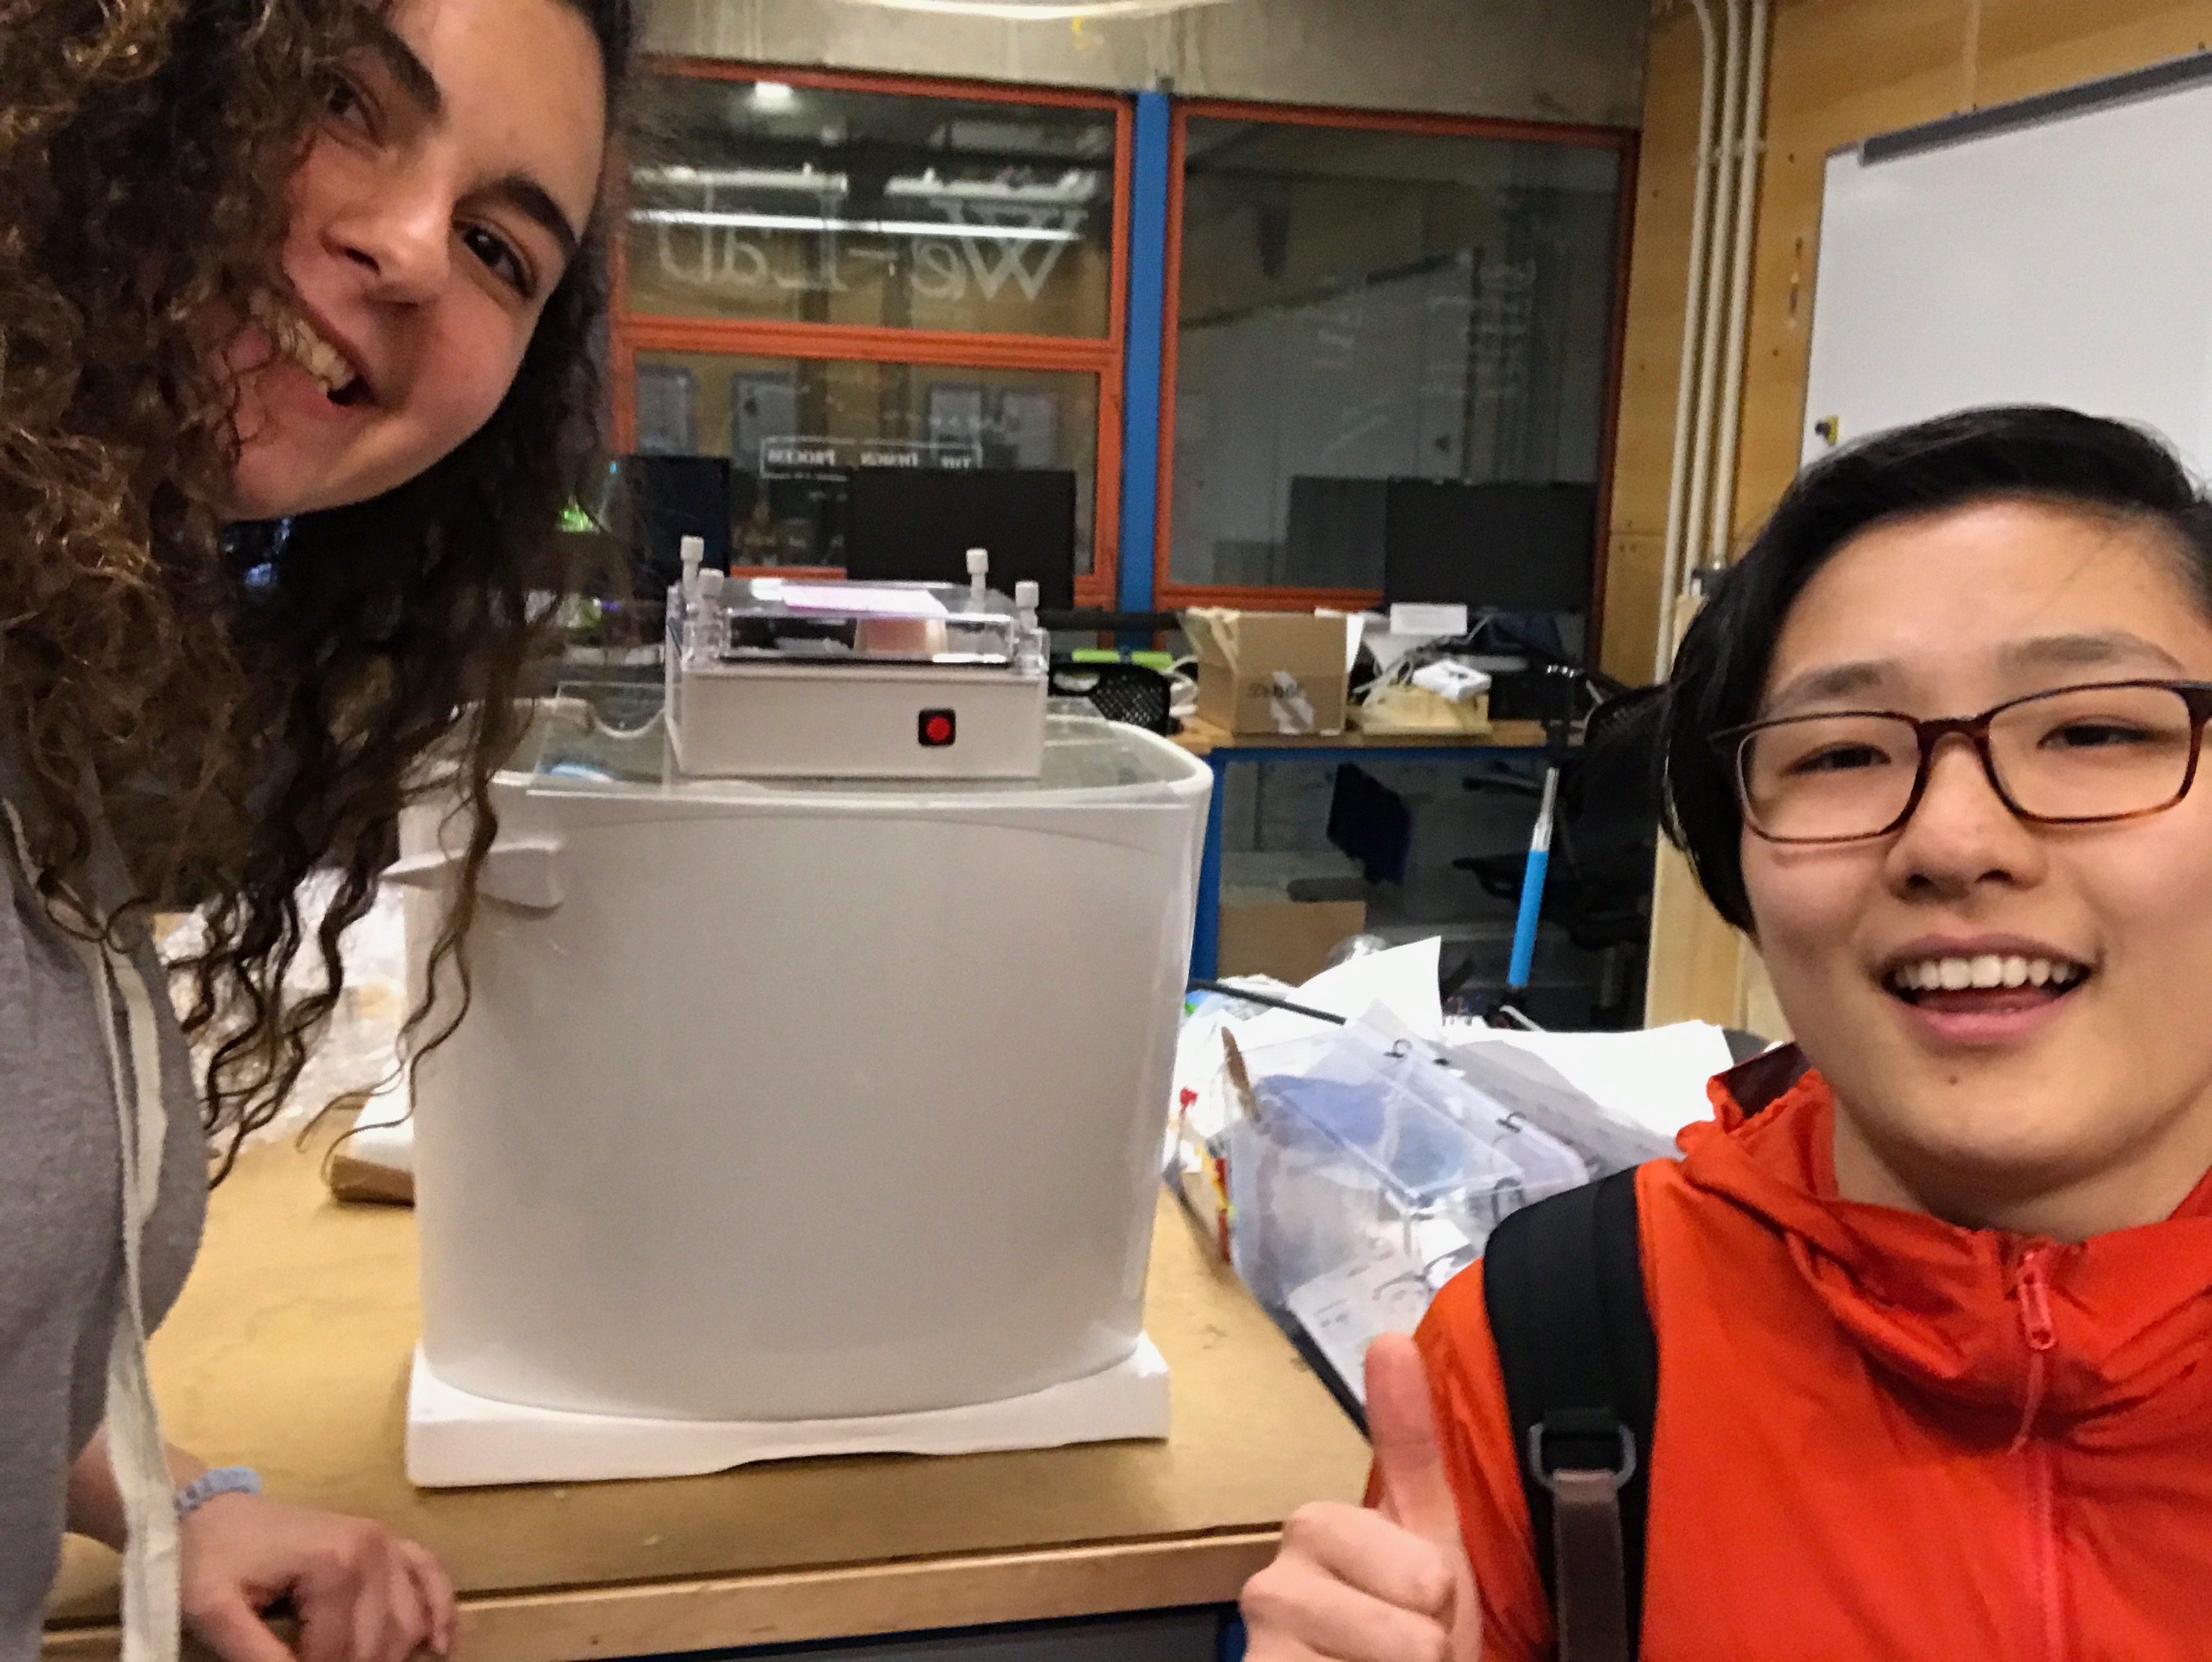
Happy Engineering 160 students in front of their *insert toilet joke* project
